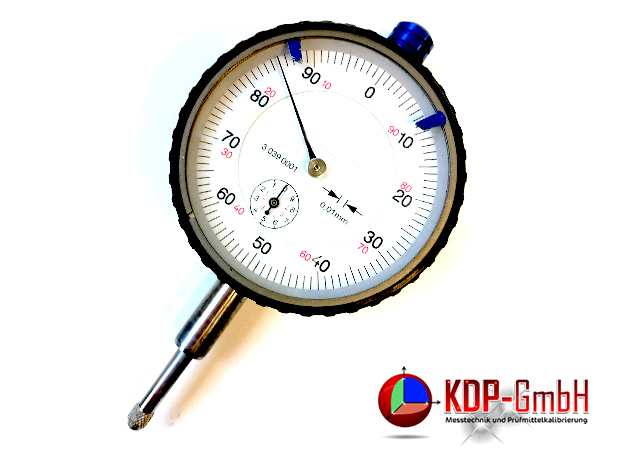
Length or differences in length are measurend with a dial gauge. It can be used for comparative, flatness, positional or concentricity measurements.
Dial gauges exist with analogue or digital display. Setup and function are standardized by DIN regulation 878.
Dial gauges with round scale and analogue display transmit the longitudinal movement of the measuring probe with a toothed rack and gear to the pointer. As a result, the pointer of the dial gauge rotates several times in a circle. The number of revolutions is indicated by a second pointer, similar to the hour hand of a watch.
The advantage of the gear rack transmission is the relatively large measuring range. The disadvantage is, that if the measuring distance greatly exceeds the travel range of the rack, it might lead to gear damage or rack damagein case of a rigid locking of the dial gauge.
Alternativly there are dial gauges with slave pointer with a delayed point of return. However this kind of dial gauges cannot carry out measurements with value differences, like concentricity or flatness.
In addition a great advantage of a dial gauge is, that it can be used in pressure and tension mode and that the return of the measuring rod is done with a spring. Therefore the applied measuring force is almost constant.
Most dial gauges achieve an accuracy level of approximately 10 µm and have a measuring range of 5 to 60 mm. A few dial gauges have an accuracy of 1 µm.
Related topics:
This information and services are provided by:


